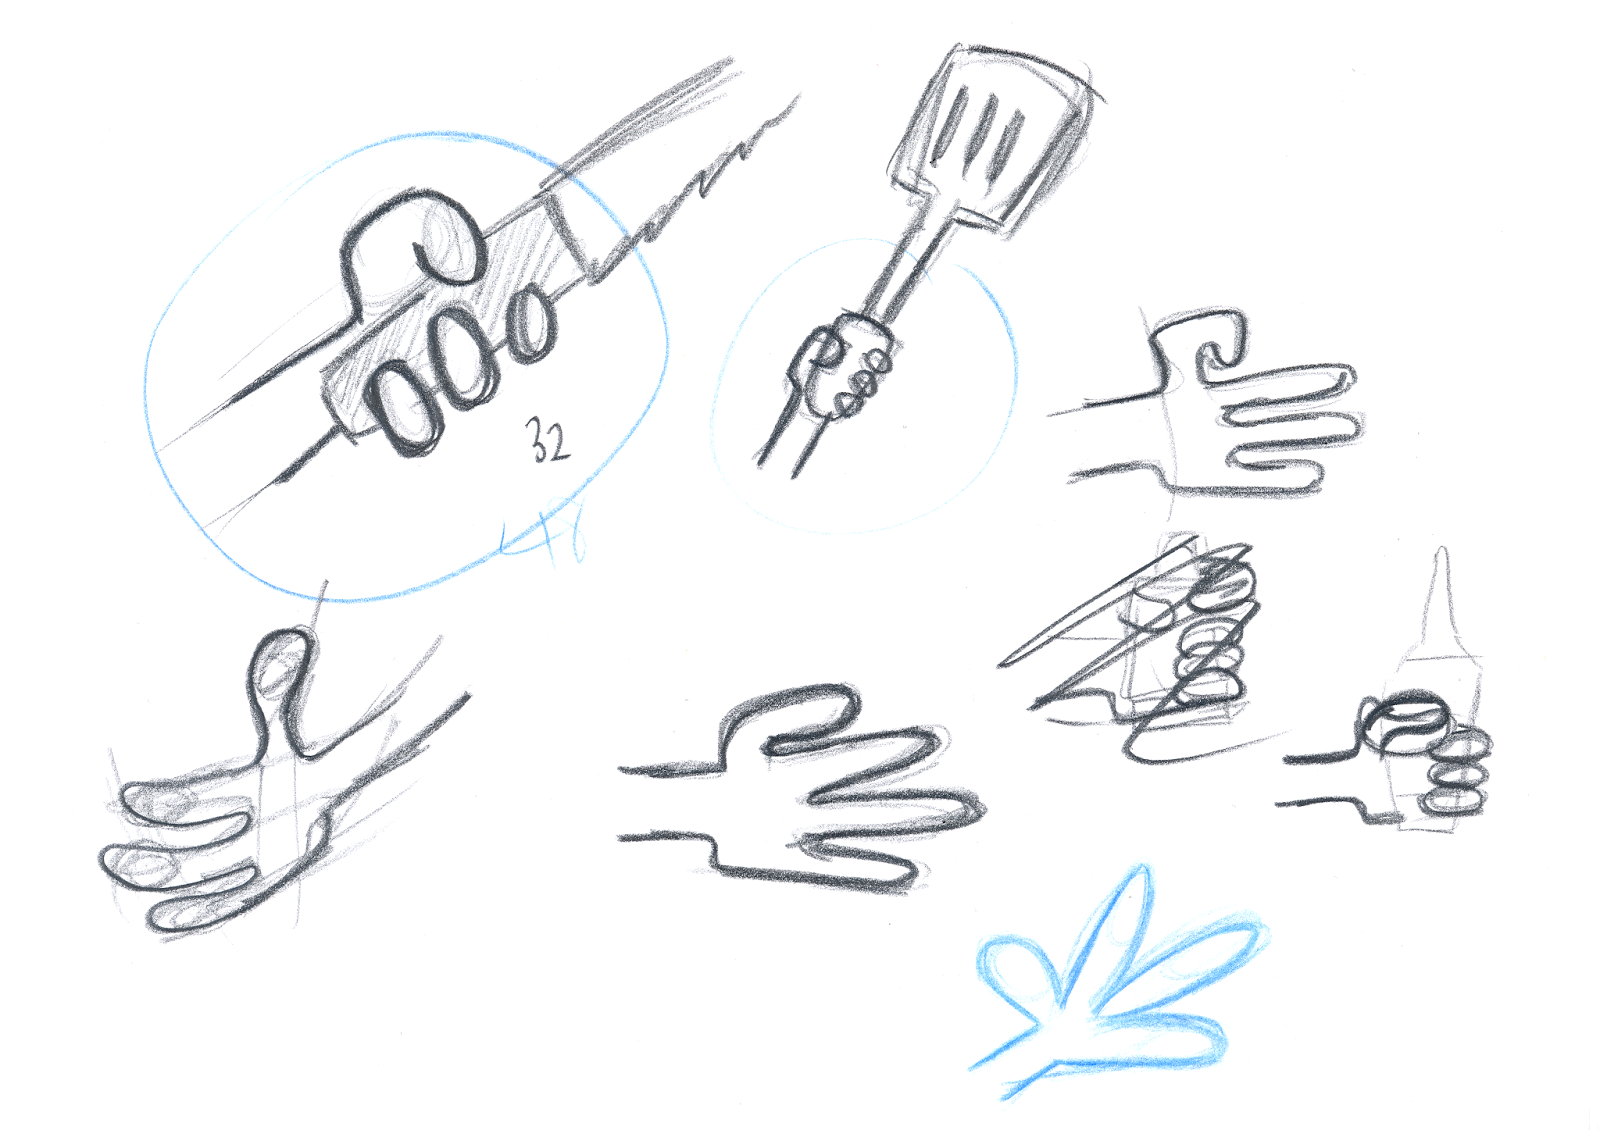
For the past week and a bit, I have been deciding on the blend shapes for the facial features and hands for Betty. I haven't been concentrating on William because his design is much simpler and also he is the secondary character and requires less animating. After finishing the practice rigging for the monster character from Digital Tutors earlier this week, I realised just what I can do with my own characters.
The Eyes
The eyes are the most simplest of the facial features to animate with a 2D rig because I can use Time Remapping to set the blend shapes to appear at different rotation values for a Null Object in After Effects.
The Mouth
The mouth will be rigged in a similar way to the eyes.
The Hands
The hands are the most difficult part to sort out. Because all of the characters actions are accompanied by expressive hand shapes, I've had to be careful in the design of each hand shape so the audience have time to read what each hand is doing in every shot.
My next task is to take these into Illustrator and continue organising the file so it is ready for rigging in After Effects. I hope to start rigging later today and for both characters to be fully rigged in one week's time so I can start animating at the beginning of February.
The Apron
For the shots where Betty retrieves props from her apron, I have created a masking effect with the Apron asset in Illustrator. I have layered them so when her hands go towards the pocket, they'll 'disappear' and she will retrieve a prop from her apron that way. I have shown this with a quick test in Illustrator. The purple star named [Object] will be the prop. Before I import the character into After Effects to rig, I will have to put eat of these assets shown below under 'Uniform_Clean' in their own layer. This is so they can be selected individually and set up properly.


No comments:
Post a Comment