Wednesday, 5 February 2014

Starting Animation with Custom Poses

Today I started blocking out the animation for the second shot of my film in which we see the protagonist Betty waiting for her shift to finish so she can go party with her friends. I created her custom pose in Illustrator, all whilst being mindful of what parts of her will need to be on separate layers so they can be animated separately. 


Betty Custom Pose 1 


Import in After Effects


Applying puppet pins to the SL_Arm layer 


Increasing the number of mesh triangles to reduce the amount of deformation when key framing a pin

I came across a big problem when I began animating the arm layer because the asset was created in it's end position (slight curve for when she's holding her cheek at the end of the shot).

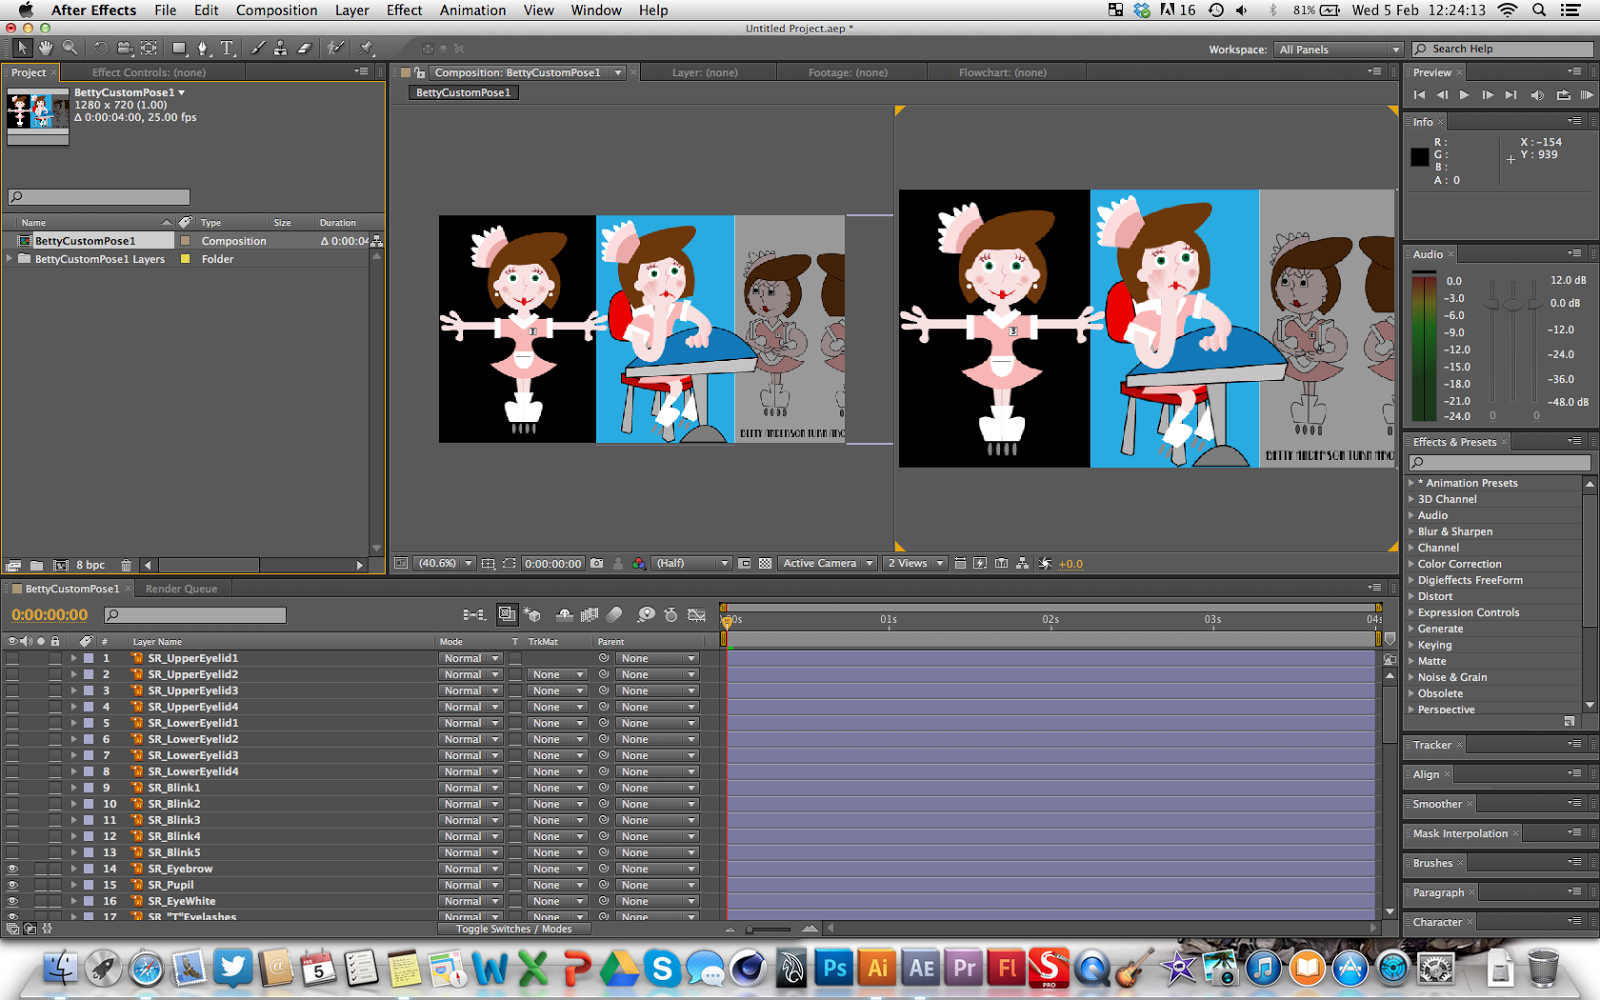
This morning I finished the first of Betty's custom poses and imported the file into After Effects to test two things important things; how a posed character can move using the puppet tools as well as adjusting pivots and how well the character looks in 3D space against the layout.


Import 

When I first imported the character, I felt she didn't stand out against the background (due to both the character and layout being illustrated with the same graphic style) so I applied a lens blur to the background pre-comp and I immediately noticed an improvement in clarity between the character and the background. 


Lens blur

UPDATE


Assets pre-comped, placed into a suitable hierarchy and colour coordinated for ease of navigation 


SR_Eye pre-comp (same as SL_Eye)


Viewport with both Null controllers for the Head and Face included

My first step is to put Betty into her "T" position (starting position) and then to plan the animation for timing and poses


Applying nulls and puppet pins to create a simple arm rig with shoulder, elbow and wrist controls


Using expressions to connect the pin to a null so when the null is animated by changing the value 

Tuesday, 4 February 2014

Organising and Finalising the Planning

Today I finalised the planning for every aspect of the production for my film. I decided to make a much clearer asset checklist in Excel so I know which assets need to be done. I also did the same for the characters (rig or custom pose) that I'll need for each shot. This will also be useful for the second year(s) who wish to help out with the animating as I included a list of who will be doing what. I included Bo Lee because she is doing some of the effects for the background animation in Flash for me. 

NOTE - (A) means assets that will be animated, (NA) not animated but a required for that particular shot 

Assets including layouts, characters and props


Shot planning


I've also been creating the design reference sheets for Bo's effect animation work

One of the pieces of animation I have asked Bo to do for me is a sequence of increasingly growing smoke clouds emitting from a cooker hob, for the montage sequence showing the service rush at the end of Act Two in my film. The idea behind is that as time goes by in the film, and the clock is cutting close to midnight (Betty's goal to finish serving the man) the smoke is used to visualise the stress and growing panic stirring inside Betty. This will be shown by her animation, but small background elements like the smoke columns will add to the meaning behind the montage.


I also went through the custom poses and custom layouts for my film and produced reference sheets so I can quickly refer back to what angle I need to illustrate the custom pose at.


Getting Help with Animation - Effects - 3rd Year Bo Lee

This morning I approached Bo Lee about possibly helping with the effects needed for my film. Bo has been primarily helping Brett with the animation and clean up on his own film since November. They are using Flash to animate their film and the reason I approached Bo for help is because the type of effects I want in my film can't be done in After Effects as well as they could be done in Flash. Bo is a good animator and I like how she animates and wants to learn new things. She can also develop with a different style which is why I have gone with designs for the effects that suit my film as well as keeping them fairly simple for her to breakdown into their components and therefore animate them well.

Here are the effects and the corresponding shots they will be featured in:

- Shot 26 - burp lines (when William finishes his first meal and interrupts Betty from writing her check for him)

- Shot 32 - smoke 1 - small puffs - light grey colour (for the first part of the montage where we see Betty frantically preparing William's meals)

- Shot 36 - smoke 2 and fire 1 - steady - mid grey colour and small fire (for the second part of the montage)

- Shot 40 - smoke 3 and fire 2 - chugging like a steam engine - dark grey colour and large fire (for the third part of the montage and Japanese black bar effect before cutting to black and starting the third act)

- Shot 48 - grey cloud and colour explosion (when Betty hits William over the head with the frying pan)

- Shot 49 - streamers and confetti in the background (party pan)

- Shot 53 - fireworks (exterior pan)

Below is the quick design reference sheet I made for her so she can start having a go at them.

(insert scan)

UPDATE - Monday 10th February 

This morning Bo showed me the effects that she started over the weekend. I am happy with her progress and have given her pointers and changes to be made. 

Layout Update

Interior - Diner East Pan


Exterior - New York Backdrop

As well as setting up my characters ready to animate in After Effects, I've been returning to the establishing shot and adjusting the assets so they all work together, both in the sense of design and 3D space. Adjustments I have made since my first WIP video include:

-

Tweaks and additions to make:

Fogging - create several fog shapes that resemble clouds and animate them moving in between the layers in the 3D scene

Snow (falling) using time remap expressions

Missing assets - import the missing assets into the scene and set up in 3D space

Go back to Illustrator and add fallen snow to each asset to set the mood of the exterior scene - freezing cold winter late at night

Turn foreground assets into 3D objects using layers from Illustrator 


Monday, 3 February 2014

After Effects Character Animation Practice - Pivots, Parenting and the Puppet Tool

Today I talked to a few second year students in regards to their possible assistance in animating the characters for my film. I got a good feedback and the students seemed interested in having a go at After Effects character animation. I have given them my contact details and have said I will put together a small test project in AE for them to have a go at. I showed them this test piece of William dancing that I started today using William and they liked the effect of simple design emphasised by simple animation.


(AE screenshot showing layer hierarchy)

Next stage - using graphs to nail the animation

Saturday, 1 February 2014

Animation Assistance - Presentation on Monday

Animatic with sound 


Character Design in Illustrator 


Animation Style

UPA has been most influential and inspiring for my film. I am wanting to replicate the quite snappy and poppy movements that's key to the appeal of UPA cartoons. Using motion blur between poses to exaggerate style. Huge emphasise on minimal animation; just enough to get across the emotion of the characters and direction of the story. Keeping with the UPA motif of design over animation to translate the characters emotion and movements.

Translating the UPA style into 2.5D

Gerald McBoing-Boing


Mr Magoo's Christmas Carol

Practice Rigging Using the PuppetTools 3.0 Plug in

Last week when I downloaded the PuppetTools 3.0 plug in from aescripts + aeplugins, the file came with an After Effects file with two pre-comps, a pre made character and the character rigged. Today I practiced using the plug in to create the rig for the character


Loading the PuppetTools 3.0 plug in to After Effects 


Applying and renaming pins using the Puppet Pin tool to each joint in the right leg layer


Using the Pins to Nulls tool to turn the pins into Nulls for easier animating


Show that the Nulls work in distorting the right leg layer


Changing the top Null, Waist, to a Master Null so the whole leg can move like a global transform. Parent the ankle to the knee and the knee to the waist first.


Create IK feature