Thursday 27 February 2014

Animation Update - Shot 2 - One Step Back, Two Steps Forward

In between continuing the layouts for my film, I've been animating Betty in Shot 2 on the side.


When I showed Hilary the 'improved' version of Shot 2, she quickly commented on how too much was happening at once. Now that I have attempted one of the more difficult shots to animate twice, one using a rather simple character file from Illustrator and the other, a more difficult file with more assets to contend with, I now know how much detail I need to put into creating the character files from now on so I have less assets to deal with and produce better animation. 

UPDATE

William Waitress head turn 


The head pre-comp for William containing all his head shapes, hair, hats, smiles and sads and ears works quite well, although I think this animation can be improved further with tighter spacing.

Tuesday 25 February 2014

Illustrator and After Effects - Textures!

Following Hilary's recent feedback on my interior layouts, and saying how when it comes to viewing the film on thew cinema screen at the end of year degree show, the film will be very harsh to look at it and will put off a lot of the audience members, not only because of the wide variety of colours in the colour palette but how they look together in any shot. Not wanting this to happen, I've gone back through my research and found a useful tutorial on creating assets in Illustrator with textures to make the colours appear less 'in your face'. Textures also improve the aesthetic of Illustrator files and add to the retro feel of artwork, which is the effect I am trying to create in my film.


Fig. 1. Example illustration from the tutorial

Quick Tip - Create a Custom Texture Directly in Illustrator for use With the Texturizer Effect

The test file

(different asset shapes and complexities - keeping in mind some assets in the film that may have textures applied to them will be animated through deformation using meshes and the puppet tool.

GRADIENTS

Setting up the Gradient to be textured 


Fig. 2. Custom Gradient


Make sure just the gradient is selected (once placed in the layer, press G and click on the box)

^ Like this

Fig. 3. Selecting the Gradient


^ NOT this!

Fig. 4. Selecting the shape layer

Now go to Effect > Texture > Grain


Fig. 5. Applying the Grain Effect


Fig. 6. Editing the attributes of the grain effect

Applying a Colour

Can either edit the colour and position of the colour stops in the Gradient panel or create a new object or fill layer underneath and change the blending mode of the grain to Multiply which will 'add' the colour to the gradient with the grain texture.


Fig. 7. Opening the Appearance panel 

Solid Fill Colour


Fig. 8.  Applying a new fill layer underneath the gradient fill layer 


Fig. 9. Applying the grain effect to the gradient fill layer 


Fig. 10. Changing the blending mode of the gradient fill layer to Multiply

GRADIENT MESHES

Use this technique for when the asset is a complex shape like the one below


Fig. 11. Change colour of shape to black


Fig. 12. Create > Gradient Mesh

GRADIENT MESHES


Fig. 13. Object > Path > Offset Path


Fig. 14. Offset Path menu options 


Fig. 15. New layer copy in the layer organiser 

Tests


References

Figure. 1. Example illustration from the tutorial http://vectips.com/tutorials/create-grainy-textures/ [Accessed 15th February 2014]

Tuesday 18 February 2014

Talk with Hilary - Term 2 - Week 5

Following today's talk with Hilary on the progress of my film, and the animation I have done so far, she mentioned how the animation I am doing doesn't suit the style of the film or the characters. I am taking things a little far and making them more complicated than I should and this is slowing down my progress. Hilary suggested I looked at BBC's Captain Pugwash animated series from the late 50's and early 60's as well as Astley Baker Davies Ltd's Peppa Pig which first aired in 2004. These two very different children's TV shows both have a very simple yet appealing look and animation style about them.


Captain Pugwash

The classic Captain Pugwash saw John Ryan's character come to life in a simple yet very effective animation style. The characters' body parts were created as individual pieces of thin cardboard and filmed like stop motion. The characters were essentially puppets and the limited animation and snappy movements gave Captain Pugwash its unmistakable look.


Fig. 1. Captain Pugwash 'Down the Hatch'

Peppa Pig

A more recent example of cut out animation in children's TV shows is the hugely popular Peppa Pig created by Astley Baker Davies Ltd. The animation and all the assets such as the characters and layouts are created and animated in a program called CelAction which was developed especially for the studio.


Fig. 2. Peppa Pig 'Edmond Elephant's Birthday'


Fig. 3. Example showreel of a 2D rigging artist and animator using Cel Action 

Here is the link to the CelAction Website

Other examples of 2D puppet character animation softwares

I have been researching other programs that have been specifically created to do 2D puppet character animation. Below are two examples I have looked at and are interested in looking into further.

Tab 3.2 Software Website

Anime Studio Website

LAYOUTS

I also showed Hilary the updates I have done with the layouts and one of the things she commented on was how although the progress of the layouts looks good and the level of detail is just enough that it's clear we're in a diner, the colours are too contrasting with each other, and although not too noticeable or unappealing so far, if I don't change the layout colour palette, the film will be very harsh to look at on the big screen, especially because my film has a lot of quick cuts, the changes between the colours will be annoying and put a lot of people off my film. Hilary suggested I tone down the backgrounds so there is a less wider range of colours (especially the black vs. white floor below). I have changed the black to a dark grey, so it still reads as a grid floor which is fairly common in diner interiors and is now less harsh to look at. I asked Hilary whether applying hints of textures and grain effects to large areas of colour will help tone down the harshness of the layouts which she said would work well too.


Fig. 4. William Door - Before


Fig. 5. William Door - After 

MOTH DESIGN & ANIMATION


Here is the moth we see escape from William's wallet in shots 46 and 47.


Fig. 6. MothTest.ai file (WIP)


Fig. 7. Moth asset in After Effects in 3D space

Hilary commented on how the moth appeared too dainty and won't really be noticeable (ignoring the assets in grey scale) against a bright background that pans up to follow the moth.


Fig. 8. Moth animation (WIP)

CLOCK ASSETS & ANIMATION

The clock asset is seen a lot in my film so the design needs to be really simple as not to confuse the audience what it is. When I showed Hilary the WIP clock animation, she said the minute hand didn't look like a minute hand due to the snake like appearance of it when animated. To fix this and achieve a simple yet realistic look to the minute hand, I deleted the puppet pins I applied and animated to get the stretchy quality and adjusted the keyframes of the minute hand.

(insert screenshots of keyframes before and after)


Fig. 9. Clock asset ai. file


Fig. 10. Clock animation WIP


Fig. 11. Clock animation FINAL

Fig. 1. Video Link https://www.youtube.com/watch?v=Rj70NtJgLik [Accessed 18/02/2014]

Fig. 2. Video Link https://www.youtube.com/watch?v=vqABuCixPNM [Accessed 18/02/2014]

Fig. 3. Video Link https://www.youtube.com/watch?v=Ph_Hi1td0uE [Accessed 18/02/2014]

Monday 17 February 2014

Shot 20 Set Up


Fig. 1. Storyboard Panel for Shot 20


Fig. 2. Illustrator Document - Shot20Assets Set Up

Although the storyboard frame shows multiple windows in a row and the asset for the establishing shot shown above 


Fig. 3. Base shapes and colours 


Fig. 3. Development 


Shot 20 Quicktime WIP

UPDATE: Saturday 1st March


Saturday 15 February 2014

Shot 25 Set Up - Hand and Pen Animation

After speaking to Hilary on Thursday about the progress I am making on my film, and showing her the Excel document I made which details all the assets needed for each shot as well as a simple rating for the level of difficulty to complete each shot (easy, medium and hard), I've decided to go back to the most difficult shots and animate them first. 

Shot 25 is one of the most difficult shots to get right. Although only Betty's lower arms, wrists and hands are in frame, I also have William in the background scoffing his food. Because there is quite a lot happening in this shot, I have broken it down to it's core elements - Betty writing the check and William eating food. 

For me to get across the idea Betty is finishing writing William's check, I have to animate this in After Effects as well as William eating in the background. 

Whilst researching After Effects and the motion graphics people in the industry have been able to create earlier in the year, I've rediscovered two tutorials which will be perfect for this shot.

Tutorial 1 is how to animate a text layer as if it is being written with a pen or pencil by hand.


Although this tutorial details the process of creating a text reveal using assets in a particular style of ink and a quill, I have been able to pick out what I need from it and apply it to my own shot.

Tutorial 2 is how to animate an object, in this case text, along a path. Again, I have been able to take from it what I need and have applied it to my own shot.

Tutorial 2 Link 


Storyboard Panel for Shot 25


Breakdown

Betty POV of William sat at his booth with his meal in front of him on the table

Betty brings up her notepad in her left hand and pen in the left

We see motion blurred arms in the background and visual queues indicating William is eating his food extremely fast (i.e. bits of food and drink flying off screen in the background

Betty is filling in the check (writing "10" and "B x")

We see a blob of food hit the front of the notepad where Betty is writing the above line and nudges it off with her hand (she is a bit surprised here so she pauses and then nudges it off the notepad)

Betty finishes writing the above line

Assets

Notepad Asset 


(This isn't in the test project I am working on at the moment, just the assets pictured below)

Notepad Asset Document Set Up


(insert PNG of layer panel in Illustrator)


Hand and Pen Assets


James Asset (same document as above on it's own layer)


Hand and Pen Assets Document Set Up


At the moment I have only imported the assets into After Effects and finished setting up the hierarchies as well as creating Null controllers for the hand and pen ready to animate later.

I have also set up the project file following Tutorial 1. I have created three pre-comps entitled 'Text', 'Masks' and 'FinalComp'. This will be for when I test the reveal animation where the text appears to actually be written by the pen. 


Pen Animation Blocking


Thursday 13 February 2014

Animation Assistance from Second Year Students

After speaking to the second years who were interested in animating on my film last Monday, I decided to set up a practice project file for them to have a go at. Here is the screenshot of the project file I gave them. I created two separate Illustrator files; one for the character and another for her props.


I have emailed them the After Effects project file with both accompanying Illustrator files so they can have a go at animating the character. 

I made sure the file was set up fully for them so they could just concentrate on animating the character and not anything else like the hierarchies and expressions.


Saturday 8 February 2014

Sound Designer - Project Documents

Yesterday I sent my sound designer, Alex, a Word document which detailed all the sound effects and music style I want to go in my film. I explained how when it comes to the middle of Easter, when all blocking will be completed and I have given her a rough cut of the film to show the timing and pacing, some shots will be slightly different to how long they last for in the animatic so she doesn't have to word about getting the timing of the sound effects perfect just yet. It's important that the feel of the film is spot on through the sound effects because sound is just as important to a film as the visuals. The animation and design style of the film is going well so far and I am  pleased with my progress.

In the document, I listed each sound effect I would like to go in, as well as some I am not too sure on just yet. I also detailed which shot(s) each sound effect will be used in as well as a short description of how I imagine the sound effect to sound.

Here is the document I sent Alex yesterday.

-----------------------------------------------------

Music and Sound Effects List for Alex Capper – Sound Designer

When it comes to the editing stage around mid April, some shots may be cut short or extended slightly. The animatic is pretty much how the final film will flow in terms of pace however.

Music

The music should compliment what’s on screen and not distract the audience from it. I think what works well about the music I used for the animatic is that it’s catchy and pretty much everyone I’ve shown it to knows within the first 10 to 15 seconds that it’s set in the 50’s, which is just what I need to replicate with the final music edit.

The music should be in a backing track format that follows closely to the animatic. I’ve noted how each act of the film should go in terms of pace:

-       The first act should be paced evenly to set the era and mood of New York and the diner as well as the exciting evening ahead. The film is set on New Year’s Eve, so it should tell the audience how excited the people of New York are for the coming year. There should be a buzz about it!

-       1st Act Animatic reference: 00:00:00:00 to 00:00:44:07 (roughly) QuickTime

-       The second act should continue from the first act and pick up the pace as time goes on. When the montage sequence starts at the end, the music should change slightly and get gradually faster.

-       2nd Act Animatic reference: 00:00:44:08 (roughly) to 00:01:42:04 (roughly) QuickTime

-       The third act will be split into two sections. The first part should slow down a little after the montage sequence (same pace as the first act to bring the audience back to a normal speed) and build up gradually towards the moment Betty hits William on the head with a frying pan (around 2 minutes in). The second half of the third act where we see the party, and as it has just struck midnight, should be different from the rest of the film because it’s the pay off and we see a resolution between the two characters. I’d like this part to have more of a party vibe to it and for it to continue after the film has finished into the credits (which won’t be long - maximum 15 seconds after the film has finished).

-       3rd Act Animatic reference: 00:01:42:05 (roughly) to 00:02:32:25 (roughly) QuickTime

-       Credits - roughly 15 seconds after the end of act three. Just to thank everyone who worked on the film as well as the tutors and friends and family.

For inspiration, I’ve been looking at 50’s rock and roll. I think a nice bass in the background will help with the pacing of the film and for an electric guitar to drive the more action driven parts. Examples of artists I’ve listened to for inspiration that may help you too include:

Chuck Berry
Little Richard
Bill Haley and The Comets

Sound Effects

Some sound effects will need to be exaggerated to emphasise what’s on screen whilst others will need to be more realistic as not to confuse the audience and keep them glued to the story and characters until the end.

Some sound effects will be repeated throughout the film, such as when Betty brakes hard on her skates and when she zips around the diner. Another example is when William is eating his food during the montage as well as door openings.

Definite Sound Effects!

Here is the list of sound effects I definitely want to have in the film. This is still a WIP and some may be taken out if it’s too much for you to do and it doesn’t suit the final edit.

N.B. * indicates realistic sound effect

*Yawn (female) – Shot 2
Clock tick (just one) – Shot 3
*“Woo-hoo!” - excited (female) - Shot 4
‘Zip’ (across frame) - high pitched like Hanna-Barbera style – Shot 4 and 5 (one continuous sound)
Whirl - wind effect (when Betty puts her coat on) - Shot 5
Door open - bang! Make it sound like it’ll be quite painful - Shot 7
Crash (when Betty hits the ground off screen) - Shot 7
*Gasp (female) - (in shock) - Shot 8
*Godly high pitched ‘Ooooorhhhh’ like heavenly angels singing - Shot 9
Shake - HB style (Betty shakes her head) - Shot 10
Raining paper (money floating affect around William) - Shot 11
*‘Ker-ching!!’ (dollar signs in Betty’s eyes) - Shot 12
*Squeaky sound like a whiteboard marker (Betty adjusts hat on her head) - Shot 14
‘Zip’ (across to William) - high pitch (HB style) – Shot 15 (same as the zip for shot 4 and 5)
Exaggerated licking lips (William at menu) - Shot 15
*Finger click (William finger click and points to menu) - Shot 16
Door swing open - Shot 18 (slightly different to the door swing in shot 7 - less in your face)
*Roller skates on a hard surface - shot 18 and 19 (continuous)
*Car wheels screeching to a stop - Shot 19
Party music (50’s rock ‘n’ roll) - can use this same piece at the end for the party in the diner to keep some continuity and obviousness to the party ‘scene’ - Shot 20
Quick wip around like wind (Betty turns right) - Shot 21
‘Zip’ (across to William) - high pitch (HB style) – Shot 24, same as 15
Writing on pad (pen on paper) - scratch-ey- Shot 25
*Scoffing food - Shot 25
*Burp loud (male) - Shot 26
*Gasp (female) - Betty in shock again - Shot 27, slightly different to shot 8
Sword from a stone sound - when the clean plate is revealed - Shot 28
Jabbing noise when William is pointing to the menu (whirlwind sound) - Shot 30
Eye twitching - Shot 31
*Knife chopping - Montage
*Slicing - Montage
*Frying oil (‘sssss’) - Montage
Food splats on the walls (exaggerated) - Montage
*Fire crackling - Montage
Scoffing - ‘omnomnom’ - Montage
*Catching breath back (female) - deep breathing (3 or 4 breaths) - Shot 45
Tapping fat belly (William is full) - jelly ‘boing, boing, boing’ - Shot 45
*Paper rip (short) - Shot 45
Rummaging in pockets - Shot 45
‘DING!’ like a xylophone key? - wallet reveal - Shot 45
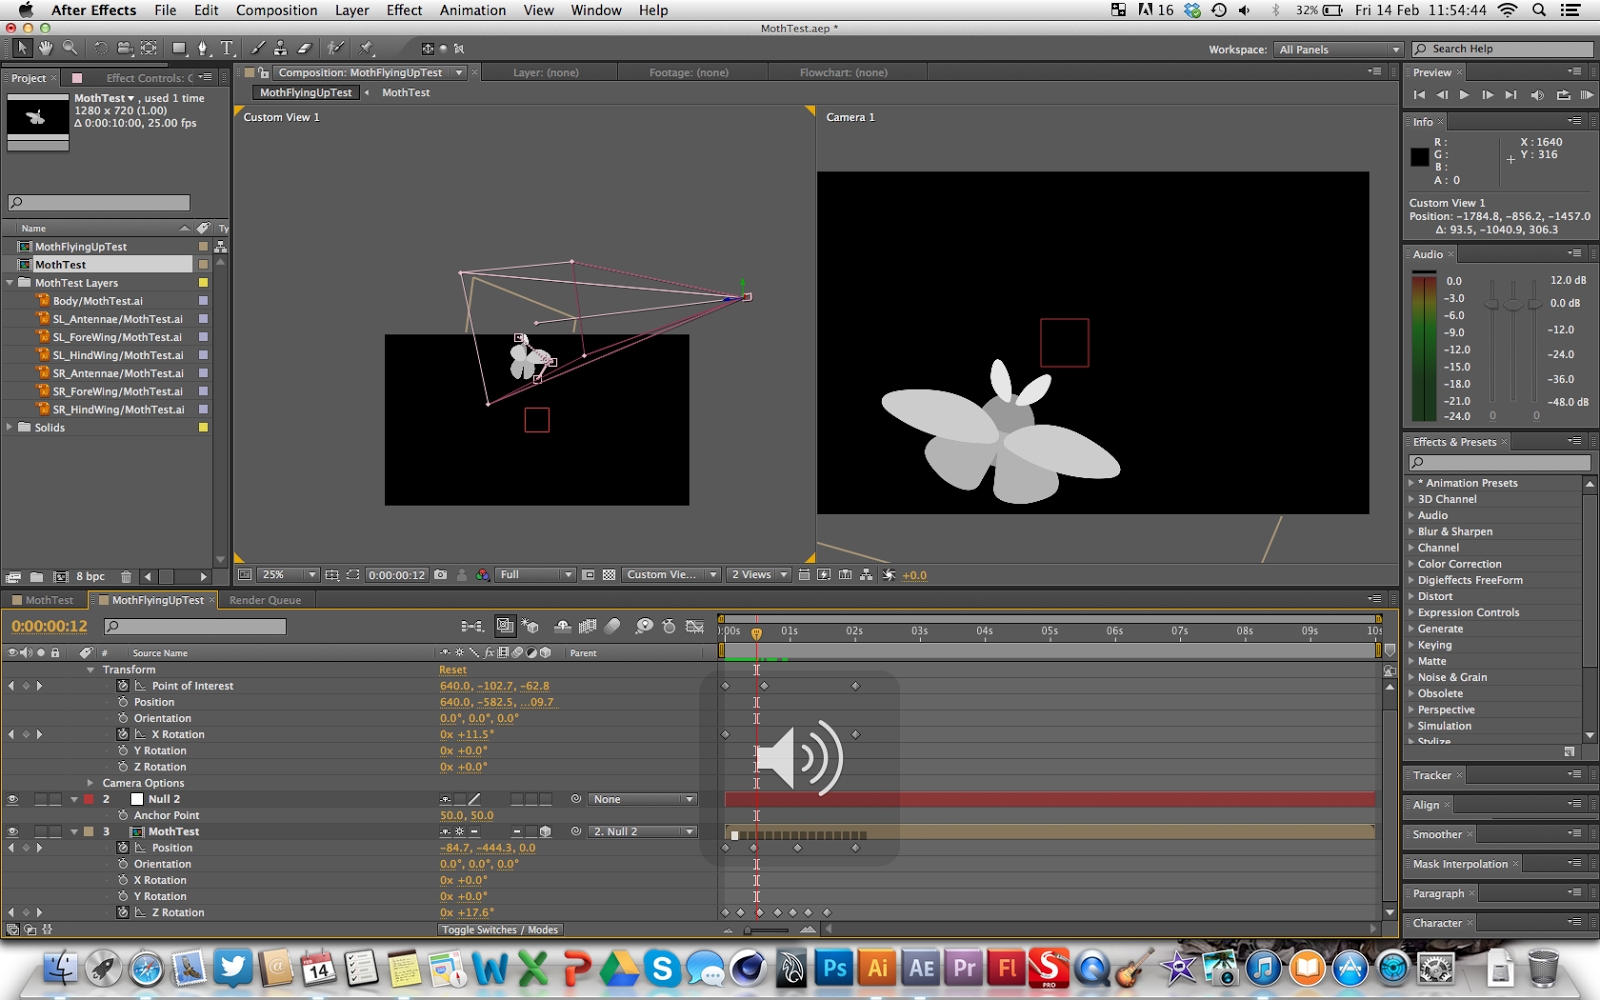
Moth wings - high pitch flapping, slightly squeaky maybe like a door hinge? - Shot 46 and 47
Moth zap (loudish) - electricity - Shot 47
Male (like Muttley from Wacky Races - cheeky) and female laugh (forced, little fake) - Shot 48
‘Woo-doosh!’ (slap-like) - frying pan over the head - Shot 48
Loud bang and crash - Shot 48
Stars twinkling - Shot 48
*Champagne glasses clinking - Shot 49
*”Woo!”-ing (party) - Shot 49
*Party whistles - Shot 49
*Whistle (female) - Shot 49
*Kitchen door bang - Shot 50 (same as shot 7)
*Roller skates on a hard surface - Shot 50 and 51 (continuous) same as 18 and 19
Crowd laughing (loud then quiet a little for next sound … ) - Shot 52
*’Sigh’ (male) - Shot 52
Firework bangs - Shot 53

Possible Sound Effects… ?

Here is the list of sound effects that I am not too sure about.

Car horns - Shot 1
Speeding car - Shot 1
Police siren - Shot 1
*Drumming fingers – Shot 2
Arm stretch - low to high pitch - Shot 6
Jewelry shaking - Betty’s earrings when she nods - Shot 17
*Plate on table - Shot 24
Smoke - Montage
Sprinkling sound (moth bits falls on William’s head) - Shot 48
*Crowd of people counting down from 10 to 1 (and then Betty whistles)  - Shot