Today I started blocking out the animation for the second shot of my film in which we see the protagonist Betty waiting for her shift to finish so she can go party with her friends. I created her custom pose in Illustrator, all whilst being mindful of what parts of her will need to be on separate layers so they can be animated separately.

Betty Custom Pose 1
Import in After Effects

Applying puppet pins to the SL_Arm layer

Increasing the number of mesh triangles to reduce the amount of deformation when key framing a pin
I came across a big problem when I began animating the arm layer because the asset was created in it's end position (slight curve for when she's holding her cheek at the end of the shot).
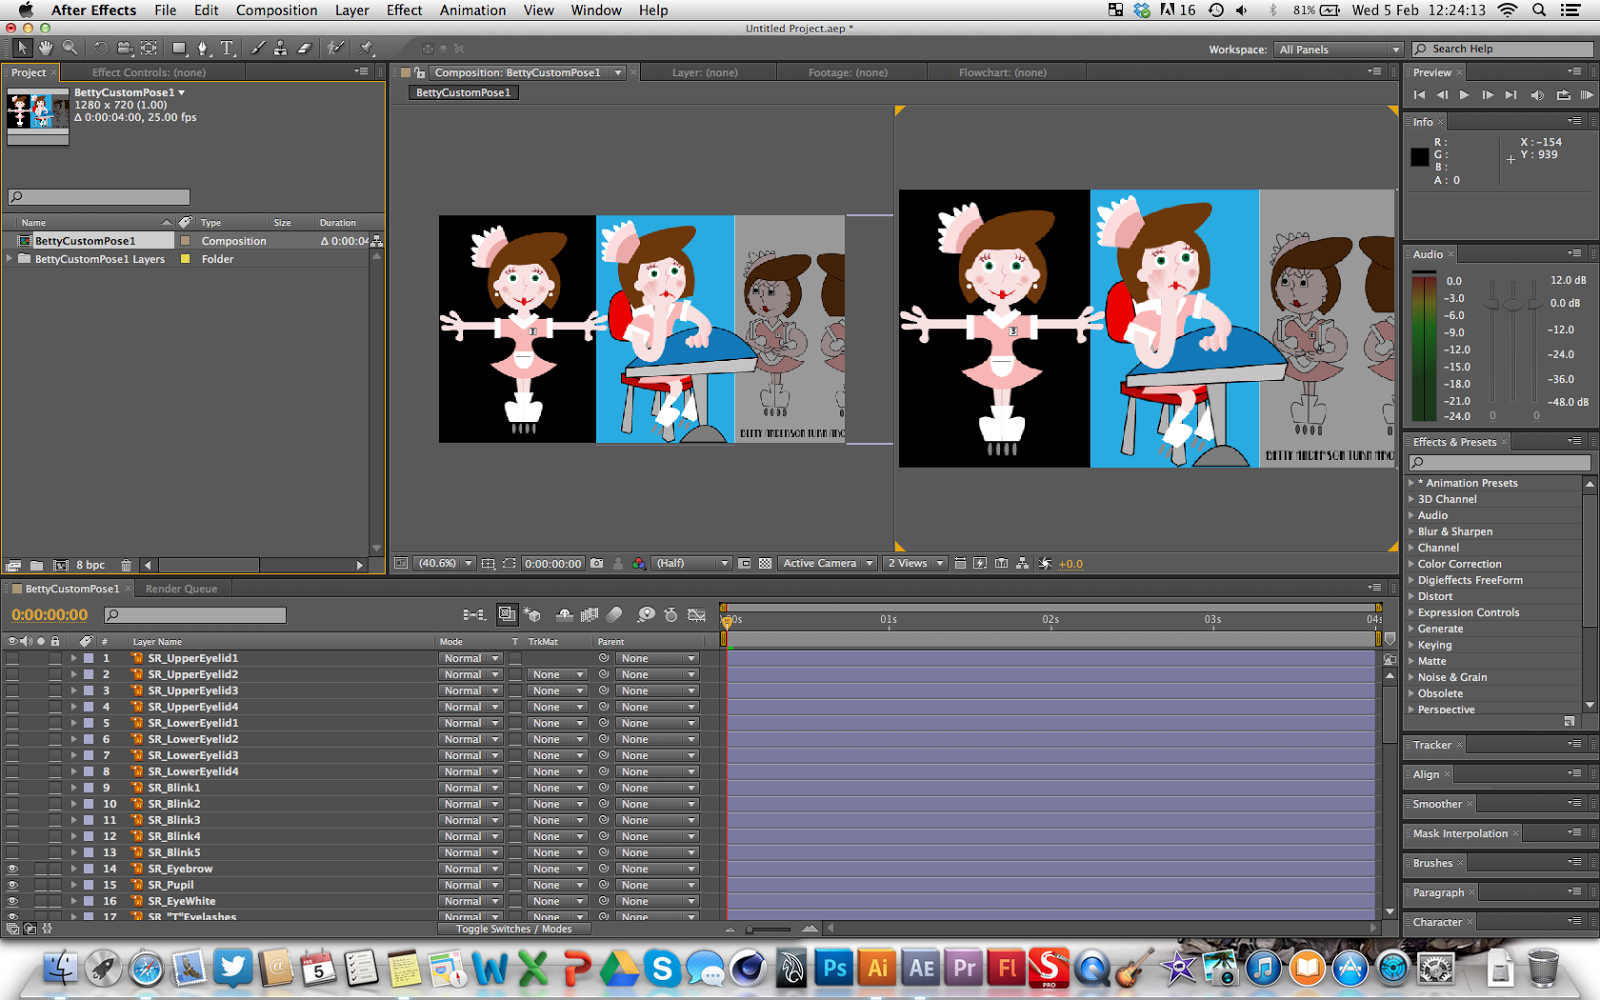
This morning I finished the first of Betty's custom poses and imported the file into After Effects to test two things important things; how a posed character can move using the puppet tools as well as adjusting pivots and how well the character looks in 3D space against the layout.

Import
When I first imported the character, I felt she didn't stand out against the background (due to both the character and layout being illustrated with the same graphic style) so I applied a lens blur to the background pre-comp and I immediately noticed an improvement in clarity between the character and the background.

Lens blur
UPDATE

Assets pre-comped, placed into a suitable hierarchy and colour coordinated for ease of navigation

SR_Eye pre-comp (same as SL_Eye)

Viewport with both Null controllers for the Head and Face included
My first step is to put Betty into her "T" position (starting position) and then to plan the animation for timing and poses


Applying nulls and puppet pins to create a simple arm rig with shoulder, elbow and wrist controls

Using expressions to connect the pin to a null so when the null is animated by changing the value
No comments:
Post a Comment